


Stay Wild, Stay Hydrated
There’s nothing like the freedom of the trail—sun on your face, boots in the dirt, and your pack strapped on for the day ahead. But even the most epic views can turn into a hard lesson if you’re not properly hydrated. Dehydration creeps in quietly—bringing fatigue, dizziness, and even danger when you’re far from help.
In the wild, water is more than a comfort—it’s a lifeline.
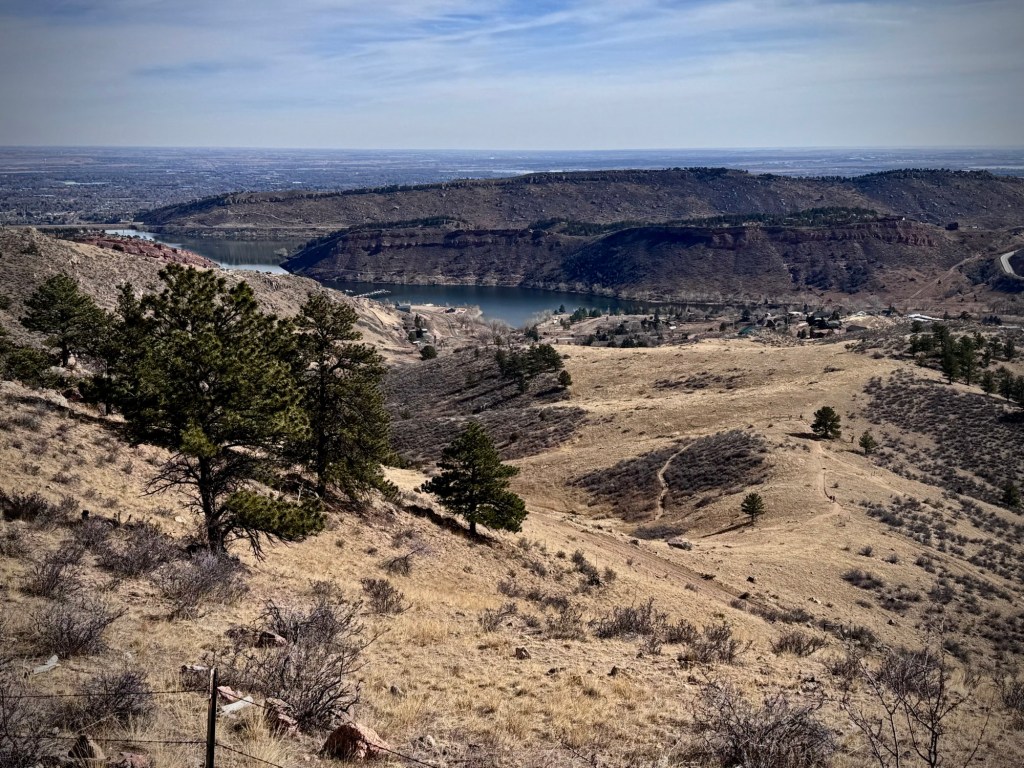
Whether you’re hiking a desert canyon or backpacking alpine trails, staying hydrated requires more than just filling a bottle. It’s about planning ahead, knowing your gear, and treating natural water sources with care and confidence.
Your body can survive for weeks without food—but only a few days without water. In the backcountry, hydration isn’t optional—it’s your number one priority.
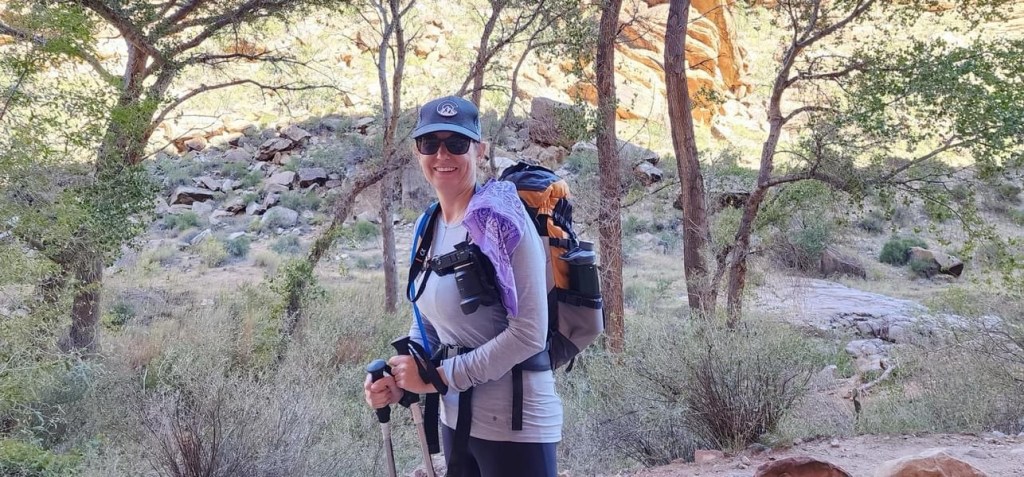
In this Wild Ready guide, I’m sharing what’s worked for Bill and me over the years—how much water we typically carry, how we pack it, when we sip, and how we filter or treat water in the backcountry. We’re not experts, but we’ve logged a lot of miles and learned a lot along the way.
How Much Water Do You Need?
General guidelines suggest:

- Hiking/Backpacking: 0.5–1 liter of water per hour of moderate activity in moderate temps.
- Hot, high-altitude, or high-exertion conditions: Increase to 1–1.5 liters per hour.
- Cold weather: Don’t underestimate dehydration—dry air and layered clothing cause fluid loss even in the cold.
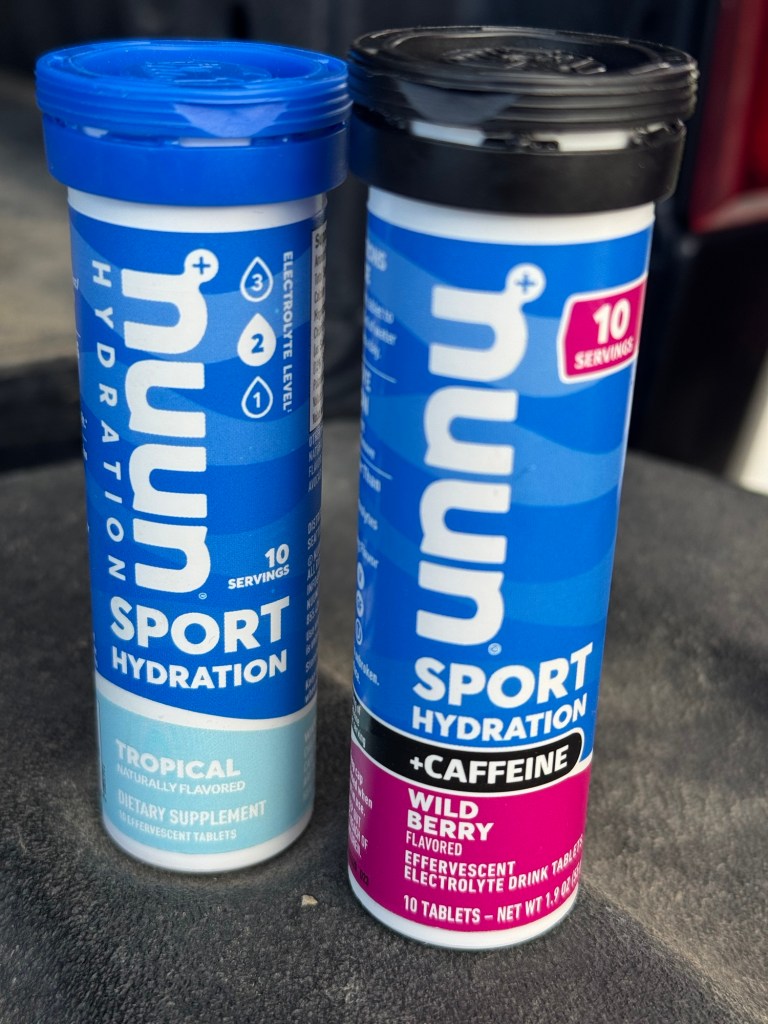
- Don’t forget electrolytes! When you’re sweating heavily, you’re losing more than just water.
📝 Crystal’s Tip: I aim for at least 3 liters on a full-day hike. For desert or canyon trips, I often consume 4–5 liters.
Hydration Best Practices
- Pre-hydrate: Start sipping water the day before your trip and drink before hitting the trail.
- Sip steadily: Your body absorbs water better with small, regular sips than big gulps.
- Snack + sip: Your body absorbs water better with a little sodium and fuel. Pair hydration with salty snacks or add electrolytes like Nuun or LMNT.
- Alternate plain + electrolytes: To avoid both dehydration and overhydration, switch between plain water and electrolyte mixes on long, hot hikes.
Bottles vs. Bladders: What Works Best?

Different adventures call for different hydration systems, and having the right setup can make or break your day.
Hydration Bladders
- Great for hands-free sipping on the move.
- Usually hold 2–3 liters, perfect for full-day hikes.
- Tucked into your pack’s hydration sleeve with a hose clipped to your strap.
🔹 Crystal’s Go-To: I almost always hike with a hydration bladder filled with water only. I find it easier to stay on top of hydration when I don’t have to stop and pull out a bottle.
Nalgene Bottles
- Rugged, easy to clean, and good for measuring.
- Can handle hot liquids or be used as a “hot water bottle” in your sleeping bag.
- Great for electrolyte mixes or backup hydration.
- Bonus: Hydration bladders can pop or leak, so carrying a hardsided bottle like a Nalgene is a smart backup. When it’s not holding water, it’s a great dry storage container for gear you don’t want getting wet.
Collapsible Bottles (like Platypus)
- Lightweight and packable—ideal for backpacking or long canyon days.
- Excellent for filtering into, storing clean water, or mixing electrolytes on the go.
🔹 Crystal’s Combo: I pair my hydration bladder with a Platypus bottle (or similar). I keep the bladder reserved for water only and use the collapsible bottle for electrolytes or extra capacity when I need it. It rolls up small when empty, so it never takes up extra space.
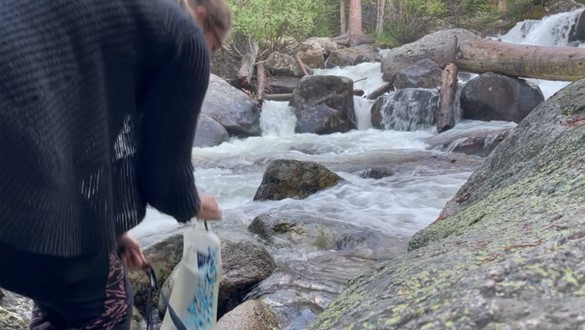
Water Filtration: Know Your Options

You can’t always rely on clear-looking streams. Viruses, bacteria, and protozoa may be lurking in backcountry water. Filtration keeps you safe and saves weight.
Popular Filtration Options:
- Squeeze Filters (e.g., Sawyer Squeeze, Katadyn BeFree):
- Lightweight, fast, and easy to use
- Great for solo hikers or minimalist trips
🔹 Crystal’s Go-To: These are my main filtration tools—I’ve used both the Sawyer Squeeze and Katadyn BeFree on countless trips. They’re compact, reliable, and easy to pair with a soft bottle or clean reservoir.
- Pump Filters (e.g., MSR MiniWorks):
- More durable and better for group use
- Effective even in murky or silty water
- Slightly bulkier but great for filtering large volumes
- UV Purifiers (e.g., SteriPen):
- Uses ultraviolet light to kill bacteria, viruses, and protozoa
- Quick and effective in clear water
- Requires batteries and has electronic parts, so it’s best to carry a backup
- Chemical Treatments (e.g., Aquamira drops, iodine tabs):
- Lightweight and packable
- Good as a backup or for long trips
- Requires wait time and may alter taste
- Boiling:
- One of the most reliable methods when camping
- Great for basecamp use when you’re already cooking
- Time and fuel-intensive; not ideal for on-the-go
- Straw Filters (e.g., LifeStraw):
- Simple and affordable
- You sip directly from the water source like a straw
- Great in emergencies or as a backup—but not ideal for filtering large amounts
- Good to Know: LifeStraws don’t store clean water—they’re meant for drinking straight from a stream, river, or lake. They’re lightweight and easy to throw in a daypack or emergency kit.
🔹 Crystal’s Tip: For backpacking, I usually bring a Katadyn BeFree for fast filtering at camp—especially for meals, clean-up, and refilling bottles. I also carry Aquamira drops as a lightweight backup, just in case my primary filter fails or the water source seems questionable. When in doubt, I double up: filter first, then treat.
| Method | Best Use | Weight | Speed | Filters Large Volumes? | Needs Batteries/Fuel? |
|---|---|---|---|---|---|
| Squeeze Filter | Solo hikers, quick refills | Very Light | Fast | Yes | No |
| Pump Filter | Group trips, murky water | Moderate | Moderate | Yes | No |
| UV Purifier | Clear water, ultralight travel | Light | Fast | Yes | Yes |
| Chemical Treatment | Backup method, long trips | Ultra-Light | Slow | No | No |
| Boiling | Basecamp cooking | Heavy | Slow | Yes | Yes |
| Straw Filter | Emergency or ultralight | Ultra-Light | Instant | No | No |
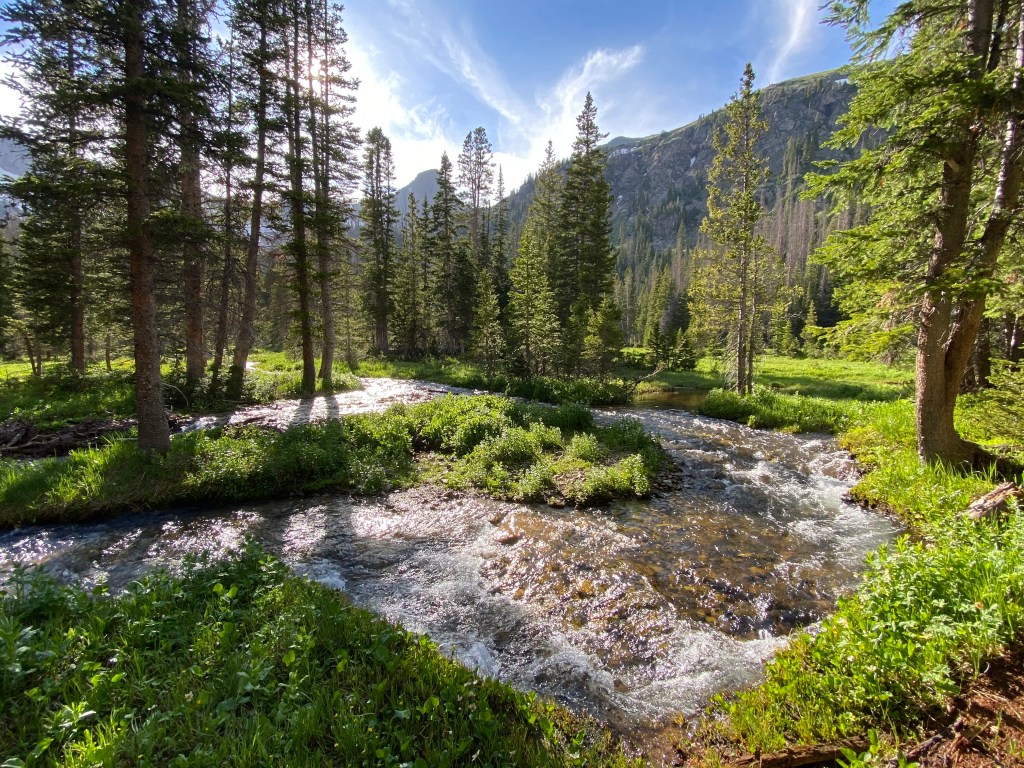
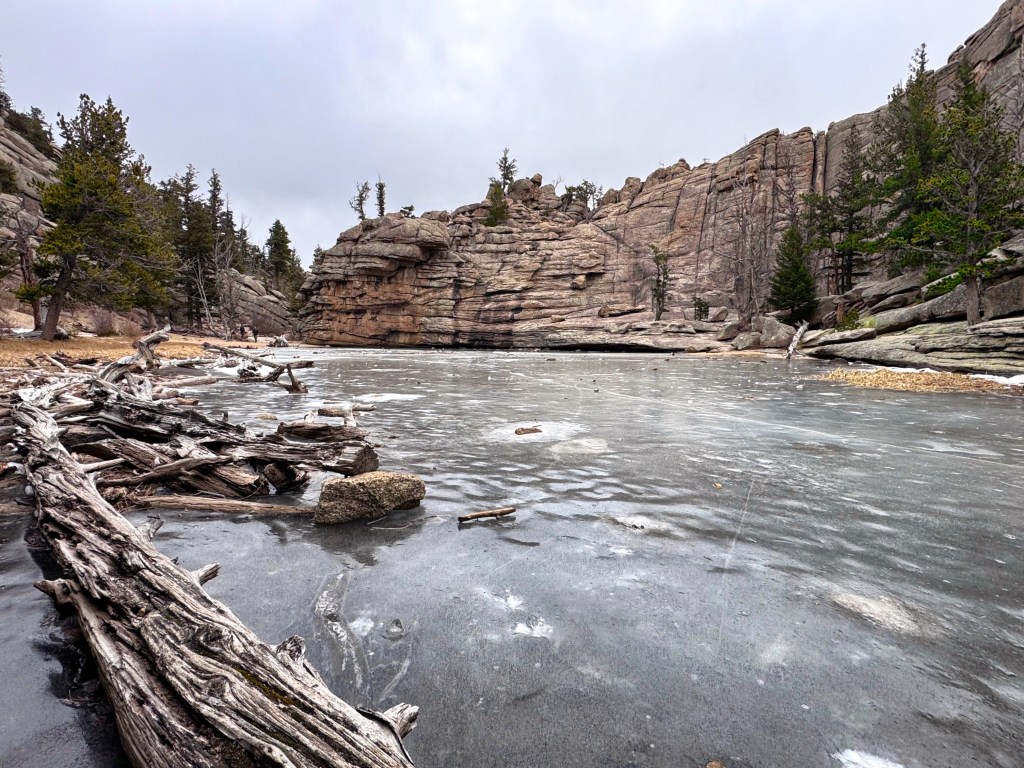
Finding Water Sources
- Research ahead: Know where reliable water sources are (use topo maps or Gaia GPS waterway overlays).
- Have a water plan: Estimate how much you’ll need between refill points, where those sources are, and what your backup is if they’re dry.
- Watch for signs: Lush vegetation often hints at water nearby. Listen for running water.
- Desert tips: Water may be seasonal, don’t count on it unless it’s confirmed.

Seasonal Hydration Tips
- Cold weather: Hydration tubes can freeze—insulate them or blow air back into the reservoir after sipping. Carry bottles upside down so the lid doesn’t freeze first.
- Hot weather: Start early, carry more, and plan shady breaks. Dehydration risk rises sharply in the heat.
Final Thoughts
Water is life out there—don’t underestimate how much you’ll need or assume you’ll find it. Stay ahead of thirst, filter smart, and always carry a backup treatment method.
This guide is based on our experience what Bill and I have carried, tested, and relied on over the years. There are many different hydration and water filtration products and practices out there. This isn’t an all-inclusive list, but it covers many of the most popular method’s you’ll see on the trail.
Wild places demand respect—and that includes your hydration game. Start full, sip often, and filter wisely.


Leave a comment